Introduction
Get Ready for Candy Apple Slices!
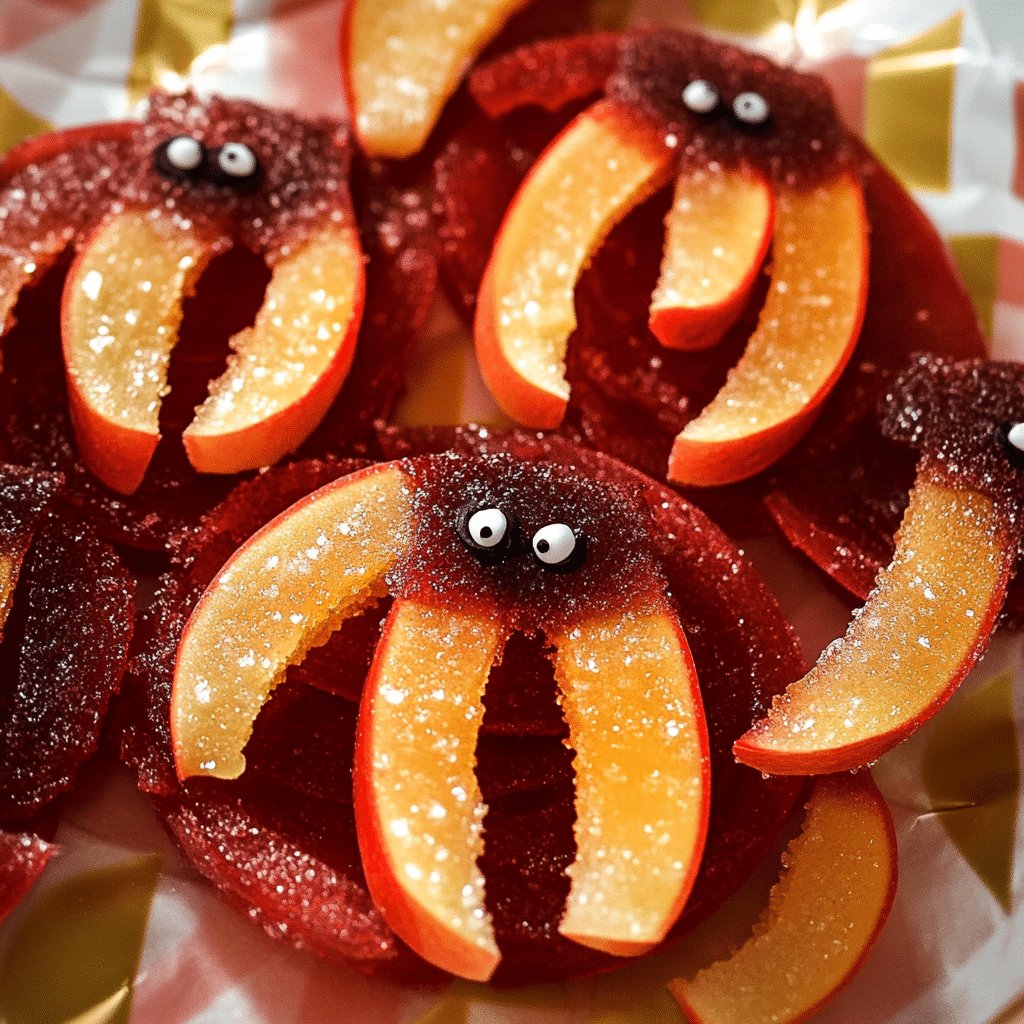
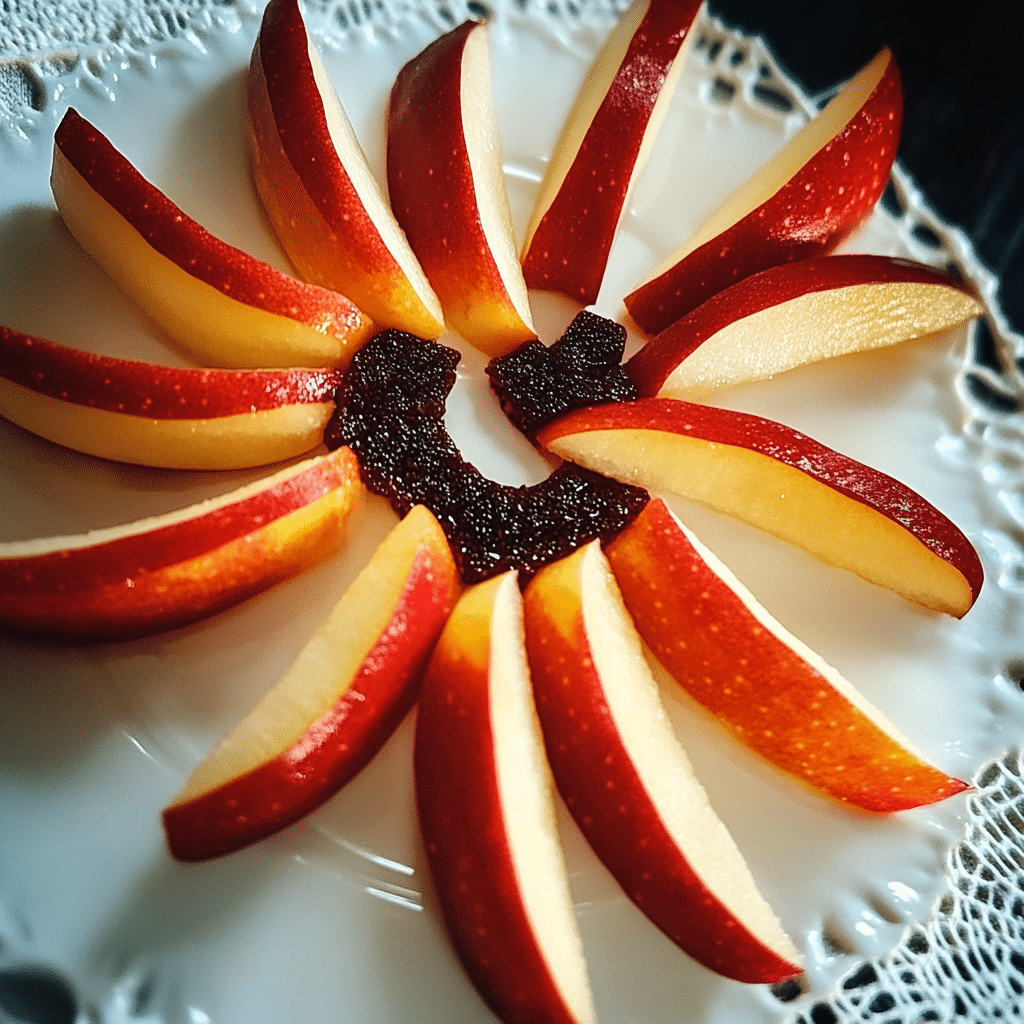
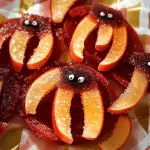
Hey there, friends! If you’re looking to add a fun twist to your Halloween treats this year, I’ve got just the thing for you: Candy Apple Slices! These little bites of happiness are perfect for all ages and make a fantastic addition to any spooky celebration. I remember the first time I made them with my kids; we had a blast creating our own colorful candy coatings and decorating them. It turned into a mini competition to see who could make the prettiest apple slice!
What I love about these Candy Apple Slices is how they bring together that satisfying crunch of fresh apples with a sweet, colorful candy coating that just screams Halloween fun. You can customize them with all kinds of toppings—think sprinkles, nuts, or even drizzles of chocolate. It’s like a canvas for your creativity! Plus, they’re incredibly easy to make, so don’t worry if you’re new to cooking; I promise you can handle this. Just slice the apples, dip them in melted candy melts, and let your imagination run wild with the decorations.
These treats are not only delicious but also a great way to spend some quality time with friends or family. Whether you’re hosting a Halloween party or just looking for a fun activity for a rainy day, Candy Apple Slices are a hit. So, grab those apples, some candy melts, and let’s dive into this festive project together! You’re going to love how easy and fun it is, and I can’t wait to hear how yours turn out!
Why You’ll Love This Recipe
Here are several reasons to fall in love with Candy Apple Slices:
- Fun and Festive: These vibrant candy-coated apple slices are perfect for Halloween gatherings.
- Kid-Friendly: Kids will love dipping the apple slices in candy and decorating them!
- Healthier Sweet Treat: Enjoy the sweetness of candy with the freshness of apples for a healthier dessert option.
- Quick and Easy: Simple ingredients and minimal preparation make these a breeze to make.
- Customizable: Decorate with a variety of toppings like sprinkles, nuts, or chocolate drizzle.
- No Special Equipment Needed: All you need is a sharp knife and some basic kitchen tools.
- Perfect for Any Skill Level: This recipe is easy to follow, making it ideal for novice and experienced cooks alike.
- Great for Classroom Treats: Share the festive fun with classmates by bringing these colorful treats to school.
- Interactive Activity: Enjoy a fun cooking activity with family and friends while making these slices.
- Make-Ahead Option: Prepare them ahead of time and store them for your Halloween festivities.
Preparation Time and Cook Time
- Total Time: 30 minutes
- Preparation Time: 10 minutes
- Cook Time: 20 minutes
- Servings: 12 apple slices
- Calories per slice: Approximately 150 calories
- Key Nutrients: Fiber: 3g, Fat: 6g, Carbohydrates: 25g, Protein: 1g
Ingredients
Gather the following ingredients to create your Candy Apple Slices:
For the Candy Coating:
- 2 cups candy melts (red, green, or orange)
- 1 tablespoon coconut oil (optional, for smooth melting)
For the Apples:
- 2 medium-sized apples (any variety you prefer)
- Optional toppings: chopped nuts, sprinkles, mini chocolate chips, or crushed candies
Ingredient Highlights
- Candy Melts: These versatile candies melt easily and come in various colors, perfect for Halloween.
- Apples: Crisp and juicy apples provide a refreshing contrast to the sweetness of the candy coating.
Step-by-Step Instructions
Follow these steps to create your Candy Apple Slices:
Prepare the Apples
- Wash and Slice the Apples: Rinse the apples under cold water. Slice each apple into wedges or rounds, removing the core.
- Pat Dry: Use a paper towel to pat the apple slices dry. This helps the candy coating stick better.
Melt the Candy Coating
- Melt the Candy Melts: In a microwave-safe bowl, combine the candy melts and coconut oil (if using). Microwave in 30-second intervals, stirring in between, until smooth and fully melted.
- Dip the Apple Slices: Hold each apple slice by the skin side and dip it into the melted candy, ensuring it’s well-coated. Allow excess candy to drip off.
Decorate the Slices
- Add Toppings: While the candy is still warm, sprinkle your desired toppings over the coated apple slices for added fun and flavor.
- Set to Dry: Place the decorated slices on a parchment-lined baking sheet to cool and harden.
How to Serve
Here are some fun serving ideas for your Candy Apple Slices:
- Display on a Halloween Table: Arrange apple slices on a festive platter or serving tray.
- Create a Candy Apple Bar: Set up a station with different toppings and let guests decorate their own slices.
- Serve with Dipping Sauces: Offer caramel or chocolate sauce on the side for added indulgence.
- Use Halloween Skewers: Insert wooden skewers into the apple slices for easy handling and a fun presentation.
- Pair with Spooky Drinks: Serve alongside Halloween-themed beverages for a complete treat experience.
- Wrap for Gifts: Individually wrap slices in clear bags tied with Halloween ribbon for fun party favors.
- Engage Kids: Let kids help with dipping and decorating for a fun, interactive activity.
- Themed Decorations: Surround the apple slices with Halloween decorations for an extra festive touch.
- Perfect for Parties: Serve as a refreshing snack option alongside other Halloween treats.
- Enjoy Anytime: These candy apple slices make a great after-school snack or a fun dessert any day!
Additional Tips
Maximize your enjoyment of Candy Apple Slices with these helpful tips:
- Use Fresh Apples: Select firm apples for the best texture and flavor.
- Experiment with Colors: Mix and match different colored candy melts for a vibrant display.
- Customize Toppings: Try different combinations of toppings for unique flavor experiences.
- Chill Before Serving: Refrigerate the apple slices for a bit before serving to keep them fresh and crunchy.
- Store Properly: Keep any leftovers in an airtight container in the refrigerator for up to 2 days.
- Double the Recipe: Make a larger batch for parties or gatherings—everyone will love them!
- Clean Up with Ease: Line your workspace with parchment paper for easy cleanup.
- Use a Candy Thermometer: If you’re feeling adventurous, try making homemade candy coatings!
- Personalize for Guests: Encourage guests to decorate their own slices for a fun, interactive experience.
- Incorporate Flavors: Add a dash of cinnamon or nutmeg to the candy melts for a seasonal flavor boost.
Recipe Variations
Consider these creative variations for your Candy Apple Slices:
- Chocolate-Covered Apples: Swap candy melts for melted chocolate for a classic twist.
- Caramel Coating: Use melted caramel instead of candy melts for a gooey coating.
- Nutty Apples: Roll the apple slices in crushed nuts after coating for a delicious crunch.
- Fruit-Infused: Dip apple slices in fruit-flavored candy melts for a fruity twist.
- Mini Apple Bites: Cut the apple slices into smaller pieces for bite-sized treats.
- Spicy Kick: Add a sprinkle of cayenne pepper or chili powder for a sweet and spicy flavor.
- Dipped Twice: Double dip the apple slices for an extra thick candy coating.
- Add Flavoring: Mix extracts (like vanilla or almond) into the candy melts for added flavor.
- Use Different Apples: Experiment with different varieties like Granny Smith or Fuji for unique tastes.
- Festive Colors: Use food coloring to tint the candy melts for a more customized look.
Freezing and Storage
Ensure proper storage to maintain the quality of your Candy Apple Slices:
- Storage: Keep leftover slices in an airtight container in the refrigerator for up to 2 days.
- Avoid Freezing: These slices are best enjoyed fresh; freezing can alter the texture.
- Prevent Browning: If you’re making them ahead, sprinkle a little lemon juice on the apple slices to prevent browning.
Special Equipment
You may need these kitchen tools to create your Candy Apple Slices:
- Sharp Knife: For slicing the apples.
- Microwave-Safe Bowl: For melting the candy melts.
- Parchment Paper: To line your baking sheet for easy cleanup.
- Spatula: For stirring the melted candy and dipping the apple slices.
- Baking Sheet: To set the coated apple slices while they cool.
FAQ Section
Here are answers to common questions about Candy Apple Slices:
- Can I use other fruits instead of apples?
Yes! Pears, bananas, or even strawberries can be dipped in candy melts for a fun alternative. - How long can I store the slices?
They can be stored in the refrigerator for up to 2 days. - Can I freeze these apple slices?
Freezing isn’t recommended, as it may affect the texture and coating. - What if I can’t find candy melts?
You can use melted chocolate as a substitute for the candy coating. - Can I use organic apples?
Absolutely! Organic apples work great and add to the freshness of your treat.
Candy Apple Slices
- Total Time: 30 min.
Ingredients
For the Candy Coating:
- 2 cups candy melts (red, green, or orange)
- 1 tablespoon coconut oil (optional, for smooth melting)
For the Apples:
- 2 medium-sized apples (any variety you prefer)
- Optional toppings: chopped nuts, sprinkles, mini chocolate chips, or crushed candies
Instructions
Prepare the Apples
- Wash and Slice the Apples: Rinse the apples under cold water. Slice each apple into wedges or rounds, removing the core.
- Pat Dry: Use a paper towel to pat the apple slices dry. This helps the candy coating stick better.
Melt the Candy Coating
- Melt the Candy Melts: In a microwave-safe bowl, combine the candy melts and coconut oil (if using). Microwave in 30-second intervals, stirring in between, until smooth and fully melted.
- Dip the Apple Slices: Hold each apple slice by the skin side and dip it into the melted candy, ensuring it’s well-coated. Allow excess candy to drip off.
Decorate the Slices
- Add Toppings: While the candy is still warm, sprinkle your desired toppings over the coated apple slices for added fun and flavor.
- Set to Dry: Place the decorated slices on a parchment-lined baking sheet to cool and harden.
- Prep Time: 10 min.
- Cook Time: 20 min.
Nutrition
- Serving Size: 12 apple slices
- Calories: 150 kcal
- Fat: 6g
- Carbohydrates: 25g
- Fiber: 3g
- Protein: 1g
Conclusion
Candy Apple Slices are such a fun and festive way to celebrate Halloween! Not only do they bring together the delightful crunch of fresh apples with the sweetness of candy, but they’re also incredibly easy to customize to fit your taste. You can experiment with different types of chocolate, sprinkle on your favorite toppings, or even add a dash of sea salt for that perfect sweet-and-salty combo.
I truly can’t wait for you to try making these festive treats! Whether you’re enjoying them as a family activity or sharing them at a gathering, they’re sure to be a hit. The best part? You can let your creativity run wild, making each slice unique and special.
After you whip up a batch, I’d love to hear all about it! Please leave a comment with your thoughts or any fun variations you tried. And don’t forget to snap a photo and tag me on social media—I love seeing your delicious creations! Your Candy Apple Slices could inspire others to join in the fun. So get those apples ready, and let’s make some sweet memories together this Halloween!

