Introduction
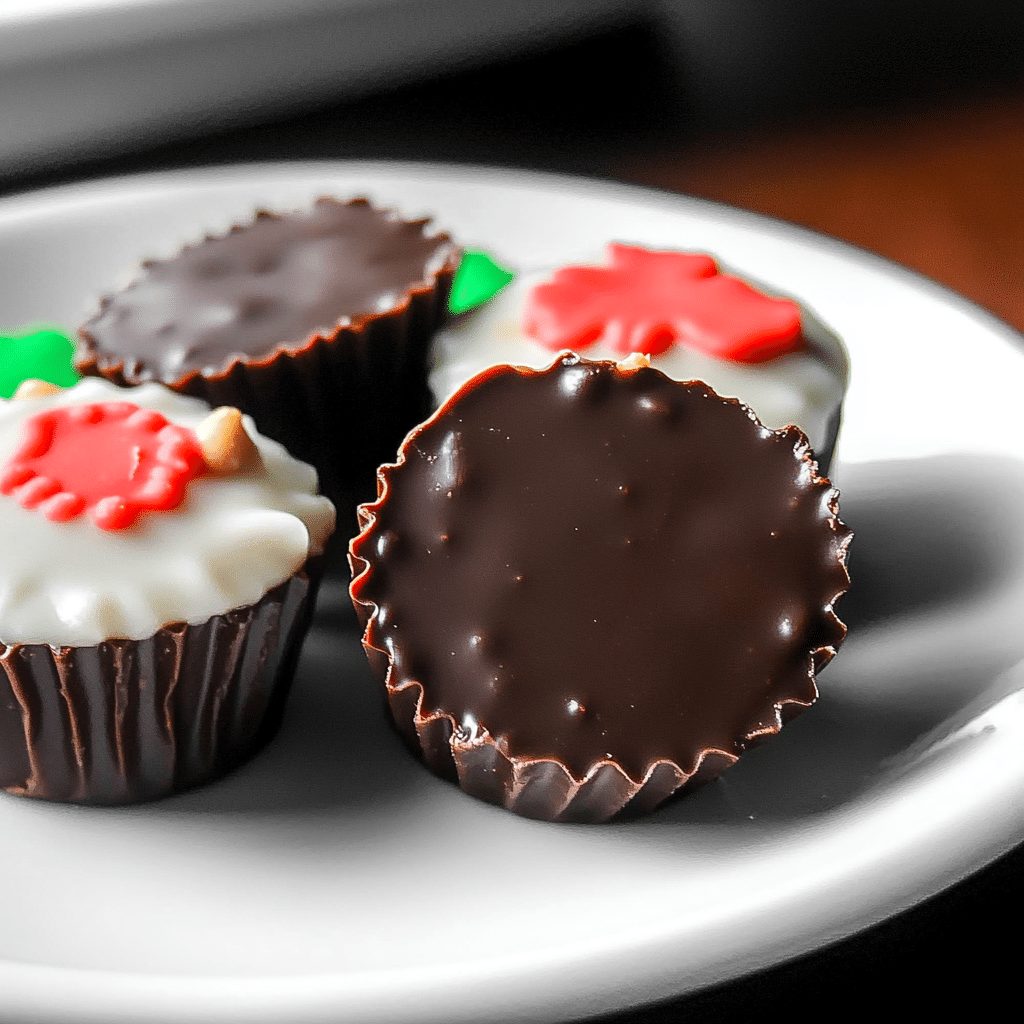
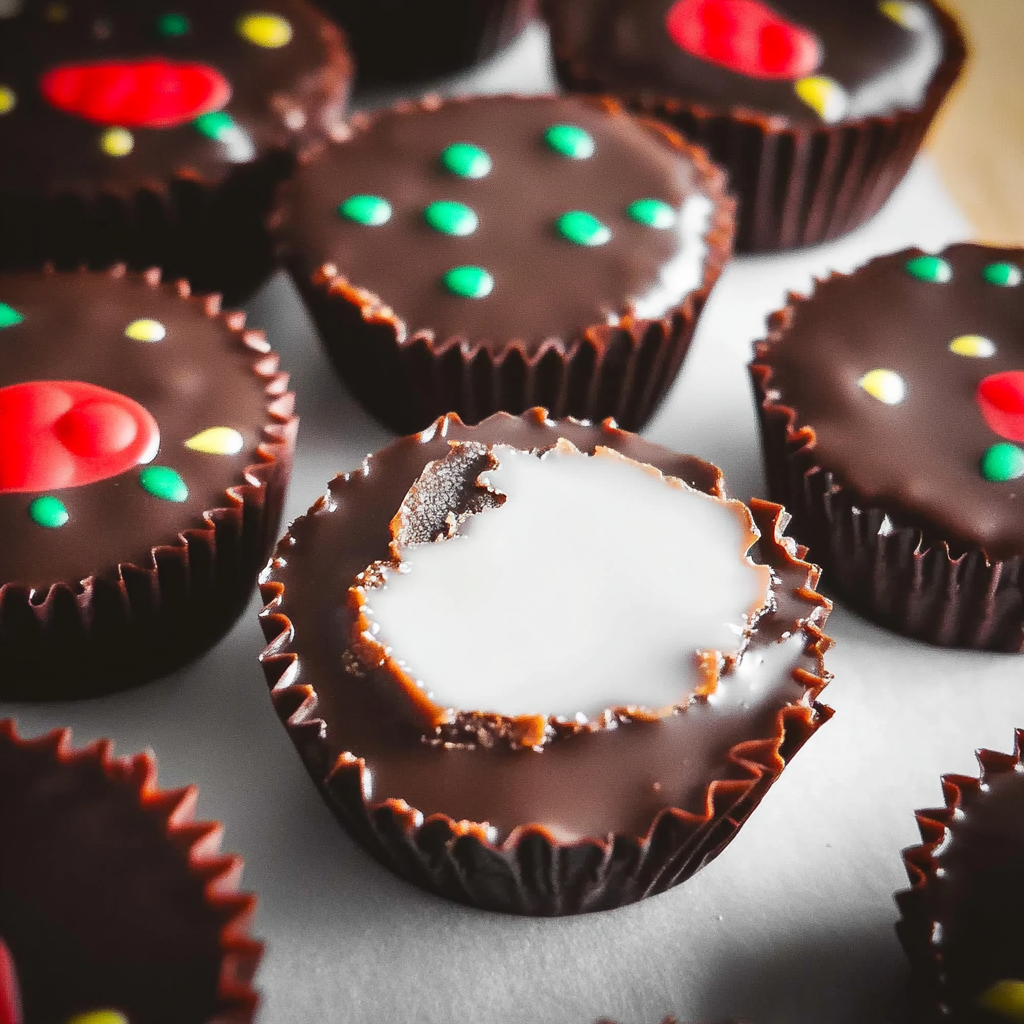
Craving something sweet and indulgent? You’re in for a treat because these Homemade Peanut Butter Cups are about to become your new favorite snack! There’s something magical about that combination of creamy peanut butter and smooth chocolate—it’s like a flavor dream come true. Honestly, once you try these homemade cups, you might never want to reach for a store-bought version again.
I first made these on a lazy Saturday afternoon, just looking for something sweet to snack on. To my surprise, it was super simple to whip them up, and my family couldn’t get enough! The best part? You control the flavors. Want a little extra salt in the peanut butter filling? Go for it. Prefer a rich, dark chocolate coating? You got it! Plus, I love knowing exactly what’s going into my food, and these are made with basic ingredients I always have on hand.
I often make these for family get-togethers or movie nights because they’re such a crowd-pleaser. Everyone loves them, and they don’t last long—seriously, they disappear fast! Even if you’ve never made candy before, don’t worry. These peanut butter cups are super easy to make, and I’ll walk you through every step. You’ve got this! Grab some peanut butter, chocolate, and a few other ingredients, and let’s dive in!
Why You’ll Love This Recipe
Here are some reasons why these Homemade Peanut Butter Cups will become your go-to treat:
- Simple Ingredients: With just a few pantry staples, you can make a batch of peanut butter cups in no time.
- Rich and Creamy: The peanut butter filling is smooth and satisfying, balanced perfectly by a crisp chocolate shell.
- Customizable: You can add a pinch of sea salt, mix in some crushed nuts, or even drizzle extra chocolate on top for a fun twist.
- No-Bake: This recipe requires no baking, making it ideal for quick and easy prep.
- Great for Gifting: Package them in a cute box or tin for an edible gift that’s sure to impress.
- Kid-Friendly: These treats are simple enough for kids to help make and enjoy.
- Made to Your Taste: Adjust the sweetness or peanut butter-to-chocolate ratio to suit your preferences.
- Versatile: These homemade peanut butter cups can be made ahead of time and stored for later—perfect for snacking!
- Perfect for Any Occasion: Whether it’s a casual treat or part of a dessert spread, these peanut butter cups fit the bill.
Preparation Time and Cook Time
- Total Time: 30 minutes
- Preparation Time: 20 minutes
- Refrigeration Time: 10 minutes
- Servings: 12 peanut butter cups
- Calories per cup: Approximately 200 calories
- Key Nutrients: Protein: 5g, Fat: 15g, Carbohydrates: 18g, Sugar: 12g
Ingredients
Here’s what you’ll need to create your Homemade Peanut Butter Cups:
For the Chocolate Layer:
- 1 1/2 cups milk chocolate chips (or dark chocolate chips for a richer taste)
- 2 tablespoons coconut oil or vegetable oil (to help the chocolate melt smoothly)
For the Peanut Butter Filling:
- 1 cup creamy peanut butter (use natural or regular, depending on preference)
- 1/2 cup powdered sugar
- 1 teaspoon vanilla extract
- Pinch of salt (optional, but enhances the flavor)
Ingredient Highlights
- Chocolate Chips: Choose your favorite chocolate for the shell—milk, dark, or semi-sweet chocolate all work well.
- Peanut Butter: The creamy peanut butter filling is the star of the show, giving these cups their signature flavor.
- Powdered Sugar: It sweetens the peanut butter filling to the perfect level of sweetness, ensuring a delightful balance with the chocolate.
Step-by-Step Instructions
Follow these simple steps to make your Homemade Peanut Butter Cups:
Prepare the Chocolate Layer
- Melt the Chocolate: In a microwave-safe bowl, melt the chocolate chips with coconut oil in 20-second intervals, stirring in between, until smooth and fully melted.
- Add a Layer of Chocolate: Spoon a small amount of melted chocolate into the bottom of each muffin liner. Swirl it around to cover the bottom evenly. Place the muffin pan in the fridge for about 10 minutes to set.
Prepare the Peanut Butter Filling
- Mix the Filling: In a separate bowl, combine the peanut butter, powdered sugar, vanilla extract, and a pinch of salt. Stir until smooth and creamy.
- Add Peanut Butter Filling: Once the chocolate layer has set, spoon a dollop of the peanut butter mixture on top of each chocolate base. Gently press down to flatten it out, ensuring it’s an even layer.
Top with Chocolate
- Add the Final Chocolate Layer: Spoon the remaining melted chocolate over the peanut butter filling, covering it completely. Tap the pan gently on the counter to smooth the top.
- Chill: Place the muffin pan back in the fridge for at least 30 minutes to allow the cups to firm up.
How to Serve
Here are a few ideas for serving your Homemade Peanut Butter Cups:
- Perfect for Snacking: Keep a batch in the fridge for a quick sweet snack anytime you need a little pick-me-up.
- Gift-Worthy: Wrap the peanut butter cups in a gift box or clear bag, and tie them with a ribbon for a homemade gift that’s sure to please.
- Serve at a Party: Arrange these cups on a tray or platter at your next party, and watch them disappear!
- Great with Coffee: Pair these peanut butter cups with your favorite cup of coffee or hot chocolate for the ultimate sweet treat.
- Perfect for Lunchboxes: Pack these in your kids’ lunchboxes for a fun, homemade snack.
- Make Mini Versions: Use a mini muffin tin to make smaller peanut butter cups for bite-sized treats.
Additional Tips
Here are some tips for making the best Homemade Peanut Butter Cups:
- Use High-Quality Chocolate: The better the chocolate, the better the peanut butter cups will taste, so opt for a good quality chocolate for the best results.
- Adjust the Peanut Butter Filling: If you like a sweeter filling, add a little more powdered sugar. For a saltier version, add a bit more salt to the peanut butter mixture.
- Chill Thoroughly: Make sure the peanut butter cups are completely chilled and set before serving to ensure they don’t melt too easily.
- Experiment with Flavors: Add a little bit of cinnamon, chili powder, or even coffee to the peanut butter mixture for a fun flavor twist.
- Keep Them Cold: Store your peanut butter cups in the fridge to keep them firm and fresh.
Recipe Variations
Get creative with these Homemade Peanut Butter Cups by trying these variations:
- Crunchy Peanut Butter Cups: Use crunchy peanut butter for a little texture in your filling.
- Dark Chocolate Version: Swap the milk chocolate for dark chocolate for a richer, more intense flavor.
- Mini Peanut Butter Cups: Use a mini muffin tin to create bite-sized versions of these treats.
- Peanut Butter & Jelly Cups: Add a spoonful of fruit jam or jelly on top of the peanut butter before adding the chocolate for a fun twist.
- Stuffed Peanut Butter Cups: Add chopped peanuts, crushed pretzels, or even marshmallows to the peanut butter filling for extra crunch and flavor.
- Vegan Version: Use dairy-free chocolate chips and natural peanut butter to make this treat vegan-friendly.
Freezing and Storage
To keep your Homemade Peanut Butter Cups fresh, follow these storage tips:
- Storage: Store your peanut butter cups in an airtight container in the fridge for up to one week.
- Freezing: These peanut butter cups freeze wonderfully! Keep them in a freezer-safe container for up to 3 months. Thaw at room temperature for a few minutes before enjoying.
- Keep Cold: Always store these in the fridge to prevent the chocolate from softening too much.
Special Equipment
Here’s a list of tools you may need for this recipe:
- Muffin Tin: For forming the peanut butter cups.
- Muffin Liners: Use liners to easily remove the peanut butter cups once they’ve set.
- Microwave-Safe Bowl: For melting the chocolate.
- Spoon or Small Ice Cream Scoop: For adding the peanut butter and chocolate layers.
FAQ Section
Here are answers to some common questions about Homemade Peanut Butter Cups:
- Can I use crunchy peanut butter instead of creamy?
Yes! Crunchy peanut butter adds a nice texture to the filling. - Can I make these ahead of time?
Absolutely! These can be made up to a week in advance and stored in the fridge. - Can I use a different nut butter?
Yes, almond butter or cashew butter can be used as alternatives for a different flavor. - How can I make these peanut butter cups sweeter?
If you want them sweeter, you can add more powdered sugar to the peanut butter mixture. - Can I freeze these peanut butter cups?
Yes, they freeze very well. Just make sure to store them in an airtight container.
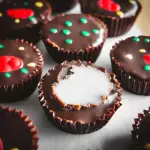
Homemade Peanut Butter Cups
- Total Time: 30 min.
Ingredients
For the Chocolate Layer:
- 1 1/2 cups milk chocolate chips (or dark chocolate chips for a richer taste)
- 2 tablespoons coconut oil or vegetable oil (to help the chocolate melt smoothly)
For the Peanut Butter Filling:
- 1 cup creamy peanut butter (use natural or regular, depending on preference)
- 1/2 cup powdered sugar
- 1 teaspoon vanilla extract
- Pinch of salt (optional, but enhances the flavor)
Instructions
Prepare the Chocolate Layer
- Melt the Chocolate: In a microwave-safe bowl, melt the chocolate chips with coconut oil in 20-second intervals, stirring in between, until smooth and fully melted.
- Add a Layer of Chocolate: Spoon a small amount of melted chocolate into the bottom of each muffin liner. Swirl it around to cover the bottom evenly. Place the muffin pan in the fridge for about 10 minutes to set.
Prepare the Peanut Butter Filling
- Mix the Filling: In a separate bowl, combine the peanut butter, powdered sugar, vanilla extract, and a pinch of salt. Stir until smooth and creamy.
- Add Peanut Butter Filling: Once the chocolate layer has set, spoon a dollop of the peanut butter mixture on top of each chocolate base. Gently press down to flatten it out, ensuring it’s an even layer.
Top with Chocolate
- Add the Final Chocolate Layer: Spoon the remaining melted chocolate over the peanut butter filling, covering it completely. Tap the pan gently on the counter to smooth the top.
- Chill: Place the muffin pan back in the fridge for at least 30 minutes to allow the cups to firm up.
- Prep Time: 10 min.
- Cook Time: 20 min.
Nutrition
- Serving Size: 12 peanut butter cups
- Calories: 200 kcal
- Sugar: 12g
- Fat: 15g
- Carbohydrates: 18g
- Protein: 5g
Conclusion
I can’t wait for you to try these Homemade Peanut Butter Cups! Whether you’re making them for yourself, gifting them to a friend, or sharing them at a party, they’re sure to be a hit. The best part? You can totally customize them to fit your flavor preferences—add a sprinkle of sea salt, a bit of crushed pretzels, or even some mini marshmallows for a fun twist!
Once you make them, I’d love to see how they turn out! So, don’t forget to snap a photo and tag me on social media—I love seeing your delicious creations! Feel free to leave a comment below to share your thoughts, any fun variations you tried, or just to let me know how much you enjoyed them. Your feedback always makes my day!
Happy making and enjoy your sweet, salty, and totally satisfying treat!

