


Introduction
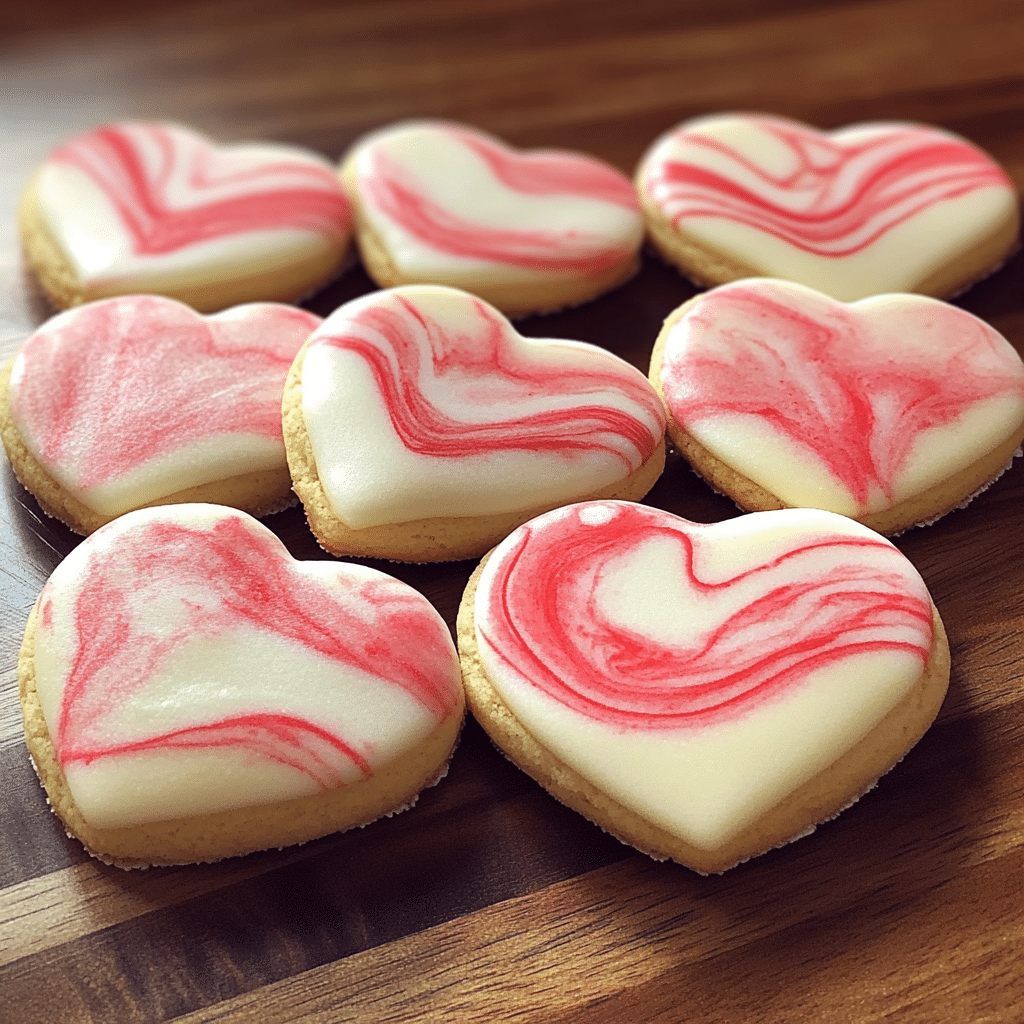
Valentine’s Day is all about love, and what better way to celebrate than with Marbled Valentine Sugar Cookies! These cookies are not only delicious but visually captivating, with a stunning swirl of red, pink, and white icing that resembles a beautiful work of art. Their soft, buttery texture and sweet vanilla flavor make them perfect for sharing with loved ones, gifting to friends, or adding a romantic touch to your dessert table.
Whether you’re an experienced baker or a beginner looking for a fun and creative recipe, these cookies are simple to make and even more fun to decorate. The marbled icing effect is surprisingly easy to achieve, turning each cookie into a unique little masterpiece. Grab your heart-shaped cookie cutters, roll up your sleeves, and get ready to bake a batch of love-filled treats that are just as delightful to look at as they are to eat!
These Marbled Valentine Sugar Cookies not only taste amazing but also add a personal, handmade touch to your Valentine’s Day celebrations. Whether you’re serving them at a party or surprising someone special, they’re sure to bring smiles and warm hearts.
Why You’ll Love This Recipe
Here’s why these Marbled Valentine Sugar Cookies will steal your heart:
- Absolutely Gorgeous – The mesmerizing swirls of color make these cookies look like edible art.
- Easy Yet Impressive – No special decorating skills needed—just swirl and dip!
- Soft and Buttery – A melt-in-your-mouth sugar cookie base that’s rich and delicious.
- Perfect for Gifting – Pack them in cute boxes or bags for a thoughtful homemade Valentine’s gift.
- Fun for All Ages – Kids and adults alike will love making (and eating) these cookies.
- Customizable Colors – Use different shades to match any theme or holiday.
- Make-Ahead Friendly – The dough and icing can be prepared in advance for stress-free baking.
Preparation Time and Cook Time
- Total Time: 2 hours (includes chilling and decorating time)
- Preparation Time: 40 minutes
- Chill Time: 1 hour
- Bake Time: 8-10 minutes
- Decorating Time: 30 minutes
- Servings: 24 cookies
- Calories per cookie: Approximately 180 calories
Ingredients
For the Sugar Cookies:
- 2 ¾ cups all-purpose flour
- 1 teaspoon baking powder
- ½ teaspoon salt
- 1 cup unsalted butter, softened
- 1 cup granulated sugar
- 1 large egg
- 2 teaspoons vanilla extract
- ½ teaspoon almond extract (optional, for extra flavor)
For the Marbled Icing:
- 2 cups powdered sugar
- 3-4 tablespoons milk
- 1 teaspoon vanilla extract
- Red and pink gel food coloring
Ingredient Highlights
- Unsalted Butter – Creates a tender, rich cookie.
- Vanilla & Almond Extract – Adds warm, aromatic flavors.
- Gel Food Coloring – Provides vibrant colors without altering the icing texture.
Step-by-Step Instructions


Prepare the Cookie Dough
- Mix Dry Ingredients – In a medium bowl, whisk together the flour, baking powder, and salt. Set aside.
- Cream Butter & Sugar – In a large mixing bowl, beat the butter and sugar together until light and fluffy.
- Add Egg & Flavoring – Mix in the egg, vanilla extract, and almond extract (if using).
- Incorporate Dry Ingredients – Gradually add the flour mixture, mixing just until combined.
- Chill the Dough – Shape the dough into a disk, wrap it in plastic, and refrigerate for at least 1 hour.
Roll, Cut, and Bake
- Preheat Oven – Set to 350°F (175°C) and line baking sheets with parchment paper.
- Roll Out Dough – On a lightly floured surface, roll the dough to ¼-inch thickness.
- Cut Out Shapes – Use heart-shaped cookie cutters to cut out cookies.
- Bake – Arrange cookies on the baking sheet and bake for 8-10 minutes.
- Cool Completely – Let the cookies cool on the baking sheet for 5 minutes, then transfer to a wire rack.
Prepare the Marbled Icing
- Mix the Icing – In a bowl, whisk together powdered sugar, milk, and vanilla extract until smooth.
- Create the Marble Effect – Divide the icing into separate bowls, tinting one red and another pink.
- Swirl the Colors – Spoon red and pink icing into the white icing, using a toothpick to create swirls.
Decorate the Cookies
- Dip the Cookies – Hold each cookie by the edges and gently dip the surface into the marbled icing.
- Let Excess Drip – Allow extra icing to drip off before placing cookies on a wire rack.
- Let the Icing Set – Allow cookies to dry for at least 1 hour before serving.
How to Serve
Here are some fun ways to serve your Marbled Valentine Sugar Cookies:
- Arrange on a Dessert Platter – Display cookies on a beautiful plate for a festive touch.
- Pair with Hot Drinks – Serve with coffee, tea, or hot cocoa for a cozy treat.
- Gift Them – Pack in cute boxes or bags with a ribbon for a heartfelt Valentine’s gift.
- Create a Cookie Decorating Station – Let guests or kids decorate their own cookies.
- Add to a Dessert Charcuterie Board – Pair with chocolates, fruits, and other sweets.
Additional Tips
Maximize your cookie success with these helpful tips:
- Chill the Dough – This prevents spreading and keeps the cookies from losing their shape.
- Use Gel Food Coloring – It provides vibrant colors without thinning the icing.
- Don’t Overbake – The cookies should be just set with slightly golden edges.
- Test the Icing Consistency – Adjust with more milk (if too thick) or powdered sugar (if too thin).
- Let the Icing Dry Completely – This ensures the marbled design stays intact.
Recipe Variations
Make these cookies your own with these creative ideas:
- Chocolate Sugar Cookies – Swap ¼ cup of flour with cocoa powder for a chocolatey twist.
- Gluten-Free Version – Use a 1:1 gluten-free flour blend.
- Different Colors – Try purple, blue, or even gold for a unique marbled effect.
- Royal Icing Alternative – Use royal icing for a glossier finish.
- Sprinkle Fun – Add festive sprinkles while the icing is wet for extra sparkle.
Freezing and Storage
- Freezing Dough:
- If you want to prepare the dough ahead of time, it’s easy to freeze. Simply roll the dough into a log or flatten it into a disk, wrap it tightly in plastic wrap or parchment paper, and then place it in an airtight freezer bag. The dough can be stored in the freezer for up to 2 months. When you’re ready to bake, just thaw it in the fridge for several hours or overnight. Once it’s soft enough to roll out, proceed with cutting and baking the cookies as usual.
- Freezing Baked Cookies:
- Baked cookies can be frozen to preserve their freshness for later enjoyment. After the cookies have completely cooled, layer them in a freezer-safe container, placing a sheet of parchment paper between each layer to prevent them from sticking together. Seal the container tightly, and the cookies will stay fresh in the freezer for up to 2-3 months. To thaw, simply take them out and let them sit at room temperature for about 30 minutes to an hour. You can also warm them up quickly in the microwave if you’re in a rush.
- Storing at Room Temperature:
- For short-term storage, after baking, allow the cookies to cool completely. Then, store them in an airtight container at room temperature. The cookies will stay fresh for up to 7 days. To help keep them soft, you can add a slice of bread to the container. This helps maintain moisture and prevents the cookies from becoming too dry.
Special Equipment
You may need these tools for this recipe:
- Heart-Shaped Cookie Cutters
- Rolling Pin
- Mixing Bowls
- Whisk
- Parchment Paper
FAQ Section
Got questions about making Marbled Valentine Sugar Cookies? You’re not alone! Here are some answers to the most frequently asked questions that can help you get the best results and make your baking experience even smoother.
- Can I use a different color for the marbling?
Absolutely! You can use any food coloring you like. Red, pink, purple, or even a mix of vibrant hues will work beautifully. Just make sure to swirl the dough gently to get that marbled effect. - Can I make the dough ahead of time?
Yes, you can prepare the dough ahead of time. Wrap it tightly in plastic wrap and store it in the refrigerator for up to 3 days. Let it sit at room temperature for a few minutes before rolling out. - How do I get a clean marble effect?
The key is to avoid overmixing the colored dough. You want just enough swirls to create a marble pattern without blending the colors completely. Gently fold the colors into each other and stop when you see the marbled effect. - Can I use cookie cutters for fun shapes?
Yes! Using cookie cutters for heart shapes, stars, or even custom Valentine’s Day designs is a great idea. Just make sure the dough is chilled well before cutting out the shapes to prevent the cookies from spreading too much during baking. - Can I make these cookies gluten-free?
Absolutely! Substitute your favorite gluten-free flour blend, and ensure you’re using gluten-free baking powder. The results will be just as tasty! - Can I freeze the cookies after baking?
Yes! Once baked and cooled, you can freeze the cookies in an airtight container for up to 2-3 months. For best results, layer the cookies with parchment paper to avoid sticking.

Marbled Valentine Sugar Cookies
- Total Time: 2 hours (including chilling time)
Ingredients
For the Sugar Cookies:
- 2 ¾ cups all-purpose flour
- 1 teaspoon baking powder
- ½ teaspoon salt
- 1 cup unsalted butter, softened
- 1 cup granulated sugar
- 1 large egg
- 2 teaspoons vanilla extract
- ½ teaspoon almond extract (optional, for extra flavor)
For the Marbled Icing:
- 2 cups powdered sugar
- 3–4 tablespoons milk
- 1 teaspoon vanilla extract
- Red and pink gel food coloring
Instructions
Prepare the Cookie Dough
- Mix Dry Ingredients – In a medium bowl, whisk together the flour, baking powder, and salt. Set aside.
- Cream Butter & Sugar – In a large mixing bowl, beat the butter and sugar together until light and fluffy.
- Add Egg & Flavoring – Mix in the egg, vanilla extract, and almond extract (if using).
- Incorporate Dry Ingredients – Gradually add the flour mixture, mixing just until combined.
- Chill the Dough – Shape the dough into a disk, wrap it in plastic, and refrigerate for at least 1 hour.
Roll, Cut, and Bake
- Preheat Oven – Set to 350°F (175°C) and line baking sheets with parchment paper.
- Roll Out Dough – On a lightly floured surface, roll the dough to ¼-inch thickness.
- Cut Out Shapes – Use heart-shaped cookie cutters to cut out cookies.
- Bake – Arrange cookies on the baking sheet and bake for 8-10 minutes.
- Cool Completely – Let the cookies cool on the baking sheet for 5 minutes, then transfer to a wire rack.
Prepare the Marbled Icing
- Mix the Icing – In a bowl, whisk together powdered sugar, milk, and vanilla extract until smooth.
- Create the Marble Effect – Divide the icing into separate bowls, tinting one red and another pink.
- Swirl the Colors – Spoon red and pink icing into the white icing, using a toothpick to create swirls.
Decorate the Cookies
- Dip the Cookies – Hold each cookie by the edges and gently dip the surface into the marbled icing.
- Let Excess Drip – Allow extra icing to drip off before placing cookies on a wire rack.
- Let the Icing Set – Allow cookies to dry for at least 1 hour before serving.
- Prep Time: 40 min.
- Chill Time: 1 hour
- Cook Time: 8-10 minutes
Nutrition
- Serving Size: 24 cookies
- Calories: 180 kcal
Conclusion
Marbled Valentine Sugar Cookies are the perfect way to add a little extra love to your Valentine’s Day! With their beautiful marbled icing and soft, buttery cookie base, these treats are both a visual delight and a delicious bite. Whether you’re baking for a special someone, sharing with friends at a party, or simply enjoying a fun afternoon of baking, these cookies are sure to brighten your day.
The marbling technique is easier than it looks, and it allows for some creative freedom, so don’t hesitate to experiment with different colors or patterns. Plus, they make such a sweet gift or treat to share—who wouldn’t love receiving a batch of these beauties?
Don’t forget to snap a photo and tag me on social media—I love seeing your delicious creations!


