Introduction
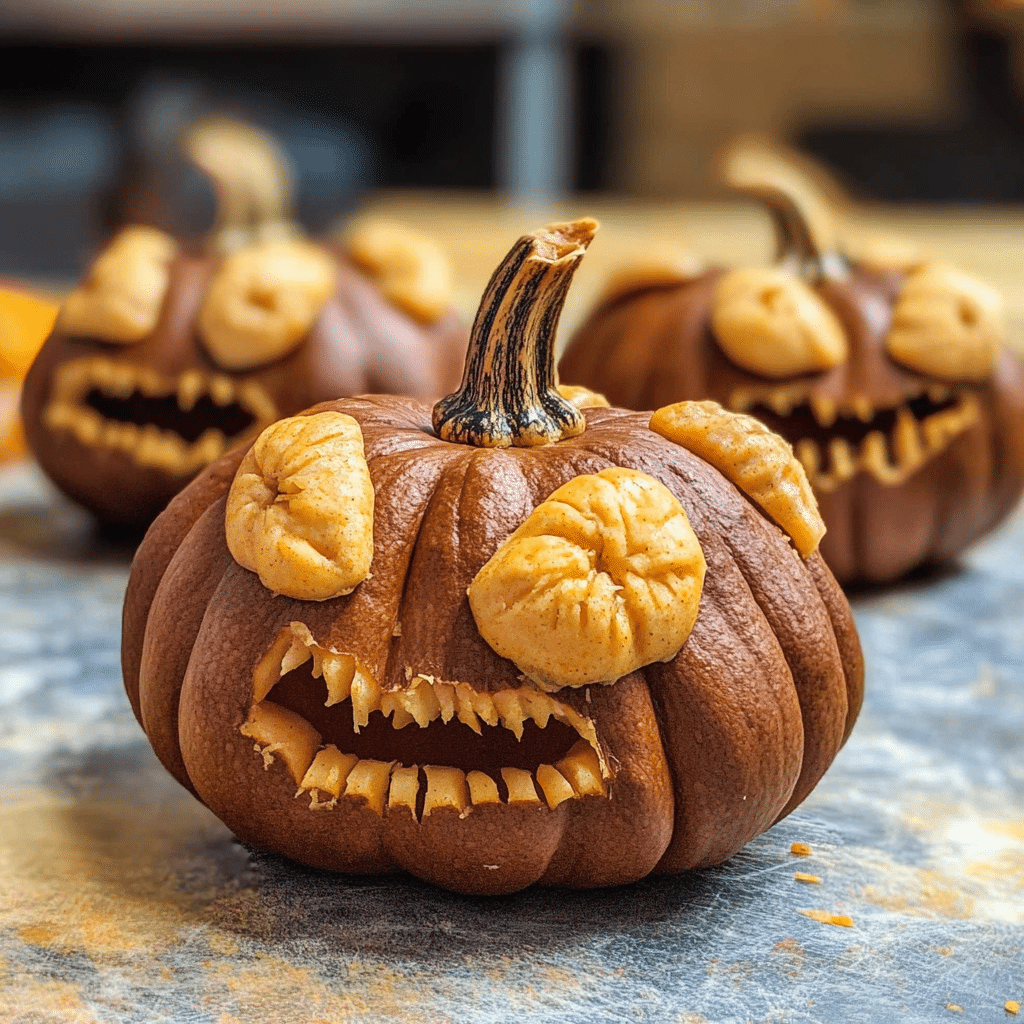
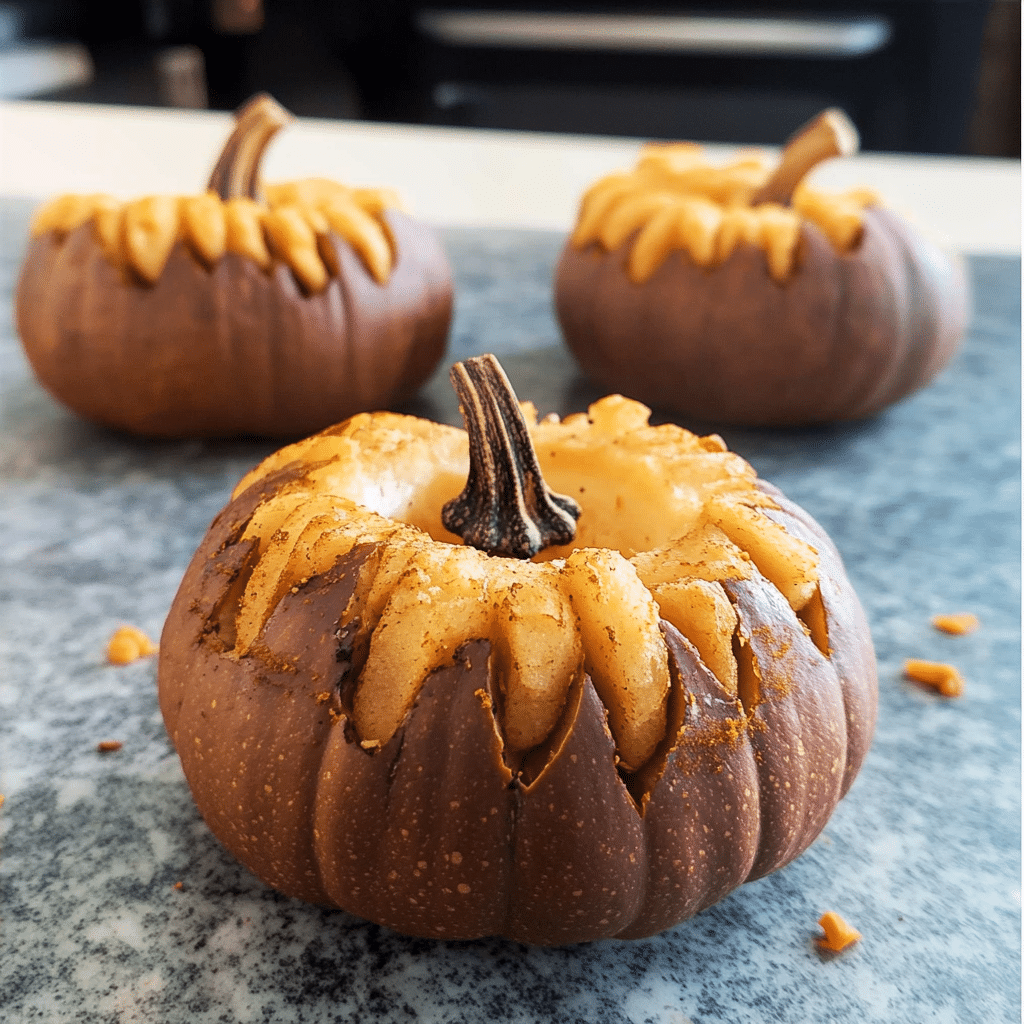
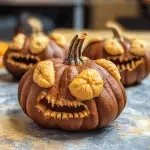
Halloween is one of those times when a little extra magic in the kitchen goes a long way, don’t you think? And these No-Bake Halloween Pumpkins? They’re just the ticket! Every October, I look forward to making treats like these because they bring the spooky fun without a lot of fuss—no oven required! Whether you’re planning a Halloween party, looking for a cute classroom treat, or just wanting something special for a family movie night, these pumpkins are always a hit.
What I love most about these little pumpkins is how they’re so easy to make yet look like you spent ages on them. They’re filled with a smooth, creamy center that’s lightly spiced and coated to look like mini pumpkins, making them both fun and festive. Plus, they’re kid-friendly, so if you’ve got little ones, this recipe is perfect for bringing them into the kitchen. I have so many fond memories of rolling and shaping these with my family. My kids love decorating their “pumpkins” with funny faces, and the excitement they bring to the whole process makes it all the more fun.
The best part? You can make a big batch in almost no time, and they hold up really well for gatherings. So grab your ingredients, call in your little ghouls, and let’s get ready to make a Halloween treat that’s as cute as it is delicious. Trust me, you’ll be coming back to this recipe every Halloween season—it’s that good!
Why You’ll Love This Recipe
Here are a few reasons why No-Bake Halloween Pumpkins will become a favorite:
- Easy and Fun: No baking required makes these treats perfect for kids to help with.
- Adorable Presentation: The pumpkin shape adds a charming touch to any Halloween gathering.
- Creamy and Delicious: A smooth filling made from cream cheese and whipped topping is a crowd-pleaser.
- Quick to Assemble: With just a few steps, you can have these treats ready in no time.
- No Special Equipment Needed: Simple tools are all you need to create these fun desserts.
- Customizable: You can change up the flavors or colors to suit your preferences.
- Perfect for Parties: These no-bake treats are a hit at any Halloween party or gathering.
- Make-Ahead Option: Prepare them a day in advance for hassle-free entertaining.
- Great for All Ages: Kids will love helping to shape and decorate the pumpkins!
- Fun to Decorate: Use candy and toppings to get creative with your pumpkin designs.
Preparation Time and Chill Time
- Total Time: 30 minutes
- Preparation Time: 30 minutes
- Chill Time: 1 hour
- Servings: 12 pumpkins
- Calories per pumpkin: Approximately 150 calories
- Key Nutrients: Fiber: 1g, Fat: 8g, Carbohydrates: 18g, Protein: 2g
Ingredients
Gather these ingredients to create your No-Bake Halloween Pumpkins:
For the Pumpkin Filling:
- 1 package (8 oz) cream cheese, softened
- 1 cup powdered sugar
- 1 teaspoon vanilla extract
- 1 cup whipped topping (like Cool Whip)
- 1/2 cup pumpkin puree
- 1 teaspoon pumpkin spice
Pumpkin Coating:
- 1 cup crushed graham crackers
- 1/4 cup orange candy melts or orange sprinkles
Decoration:
- Green gummy candies (like gummy worms or green licorice) for the pumpkin stems
- Chocolate chips or mini chocolate candies for the pumpkin faces (optional)
Ingredient Highlights
- Cream Cheese: Provides a creamy base that complements the pumpkin flavor.
- Pumpkin Puree: Adds that classic pumpkin taste and vibrant color.
- Graham Crackers: A crunchy coating that mimics the pumpkin’s texture.
- Candy Melts: Bright orange color brings your pumpkins to life!
Step-by-Step Instructions
Follow these steps to create your No-Bake Halloween Pumpkins:
Prepare the Pumpkin Filling
- Mix the Filling: In a large mixing bowl, beat together the softened cream cheese, powdered sugar, and vanilla extract until smooth and creamy.
- Add Pumpkin: Mix in the pumpkin puree and pumpkin spice until fully combined. Gently fold in the whipped topping until the mixture is light and fluffy.
Shape the Pumpkins
- Form the Pumpkins: Use your hands to scoop out about 2 tablespoons of the filling and shape it into a ball. Place the pumpkin balls on a baking sheet lined with parchment paper.
- Chill: Refrigerate the pumpkin balls for about 30 minutes to firm up.
Coat the Pumpkins
- Crush the Graham Crackers: In a shallow dish, place the crushed graham crackers.
- Coat the Pumpkins: Once the pumpkin balls are firm, roll each one in the crushed graham crackers until fully coated.
- Add Color: If using, melt the orange candy melts in a microwave-safe bowl according to package instructions. Dip the tops of the pumpkins in the melted candy and then place them back on the baking sheet.
Decorate the Pumpkins
- Add Stems: Insert a piece of green gummy candy into the top of each pumpkin to create the stem.
- Face Optional: If desired, use chocolate chips or mini candies to create fun faces on your pumpkins.
How to Serve
Here are some fun serving ideas for your No-Bake Halloween Pumpkins:
- Arrange on a Platter: Present the pumpkins on a spooky-themed platter for a festive touch.
- Create a Pumpkin Patch: Use decorative hay or leaves to display your pumpkins as a centerpiece.
- Individual Treats: Serve each pumpkin in cupcake liners for easy enjoyment.
- Pair with Other Treats: Offer alongside other Halloween goodies for a fun dessert table.
- Use Themed Toppers: Add Halloween-themed picks or flags for an extra festive flair.
- Engage Kids: Let kids decorate their own pumpkins with various toppings and candy.
- Wrap for Gifts: Place individual pumpkins in clear bags tied with ribbon for a cute gift.
- Include in Party Favors: These make great additions to goody bags at Halloween parties.
- Display with Decor: Surround pumpkins with Halloween decorations for a spooky effect.
- Serve at Room Temperature: These treats are best enjoyed slightly chilled.
Additional Tips
Maximize your enjoyment of No-Bake Halloween Pumpkins with these helpful tips:
- Make Ahead: Prepare the filling and shape the pumpkins a day in advance for convenience.
- Use Quality Ingredients: Choose high-quality cream cheese and pumpkin puree for the best flavor.
- Experiment with Flavors: Add a pinch of cinnamon or nutmeg for extra warmth.
- Check Consistency: Ensure the filling is thick enough to hold its shape when forming balls.
- Keep Cool: Store any leftovers in an airtight container in the refrigerator for up to 3 days.
- Avoid Overmixing: Be gentle when folding in the whipped topping to maintain lightness.
- Try Different Coatings: Experiment with chocolate sprinkles or crushed nuts for a different look.
- Use Cookie Cutters: For a fun twist, shape the filling with cookie cutters before coating.
- Adjust Sweetness: Taste the filling before chilling and adjust the sweetness to your liking.
- Engage Guests: Encourage guests to help decorate their own pumpkins for a fun activity.
Recipe Variations
Consider these creative variations for your No-Bake Halloween Pumpkins:
- Chocolate Pumpkin Filling: Add cocoa powder for a chocolatey twist on the filling.
- Mini Pumpkins: Make smaller versions using a teaspoon of filling for bite-sized treats.
- Different Flavors: Swap pumpkin puree for other fruit purees like banana or apple.
- Use Vanilla Wafers: Substitute graham crackers with crushed vanilla wafers for a different taste.
- Layered Treats: Layer the pumpkin filling and graham crackers in clear cups for a fun presentation.
- Nut-Free Option: Use sunflower seed butter instead of cream cheese for a nut-free alternative.
- Flavor Infusion: Mix in a splash of orange juice or zest for a citrusy flavor.
- Caramel Sauce: Drizzle caramel sauce over the pumpkins for added sweetness.
- Add a Crunch: Mix in chopped nuts or toffee bits for extra texture.
- Festive Colors: Use colored candy melts for a rainbow of pumpkins.
Freezing and Storage
Ensure proper storage to maintain the quality of your No-Bake Halloween Pumpkins:
- Storage: Keep leftover pumpkins in an airtight container in the refrigerator for up to 3 days.
- Freezing: These can be frozen before coating. Wrap in plastic wrap and place in a freezer-safe bag for up to 2 months.
- Thawing: Thaw in the refrigerator before coating and serving.
- Avoid Moisture: Make sure the container is completely dry to prevent sogginess.
Special Equipment
You may need these kitchen tools to create your No-Bake Halloween Pumpkins:
- Mixing Bowls: For combining the pumpkin filling.
- Baking Sheet: To chill the pumpkin balls.
- Parchment Paper: For easy cleanup and preventing sticking.
- Shallow Dish: For coating the pumpkins in graham crackers.
- Spoon or Cookie Scoop: For portioning out the pumpkin filling.
FAQ Section
Here are answers to common questions about No-Bake Halloween Pumpkins:
- Can I use low-fat cream cheese?
Yes, low-fat cream cheese works well, but the texture may be slightly different. - How long can I store these pumpkins?
They can be stored in the refrigerator for up to 3 days. - Can I freeze these treats?
Yes, unfrosted pumpkins can be frozen. Wrap them tightly and thaw before serving. - What if I don’t have pumpkin spice?
You can make your own by mixing cinnamon, nutmeg, and ginger. - Can I make these without pumpkin puree?
Yes! Substitute with other fruit purees for different flavors. - Are these suitable for kids?
Absolutely! Kids love them, and they’re fun to make together. - What can I use instead of whipped topping?
You can substitute homemade whipped cream, but it may affect the firmness. - How can I make them healthier?
Consider using Greek yogurt instead of cream cheese for a healthier filling.
No-Bake Halloween Pumpkins
- Total Time: 1 hour
Ingredients
For the Pumpkin Filling:
- 1 package (8 oz) cream cheese, softened
- 1 cup powdered sugar
- 1 teaspoon vanilla extract
- 1 cup whipped topping (like Cool Whip)
- 1/2 cup pumpkin puree
- 1 teaspoon pumpkin spice
For the Pumpkin Coating:
- 1 cup crushed graham crackers
- 1/4 cup orange candy melts or orange sprinkles
For Decoration:
- Green gummy candies (like gummy worms or green licorice) for the pumpkin stems
- Chocolate chips or mini chocolate candies for the pumpkin faces (optional)
Instructions
Prepare the Pumpkin Filling
- Mix the Filling: In a large mixing bowl, beat together the softened cream cheese, powdered sugar, and vanilla extract until smooth and creamy.
- Add Pumpkin: Mix in the pumpkin puree and pumpkin spice until fully combined. Gently fold in the whipped topping until the mixture is light and fluffy.
Shape the Pumpkins
- Form the Pumpkins: Use your hands to scoop out about 2 tablespoons of the filling and shape it into a ball. Place the pumpkin balls on a baking sheet lined with parchment paper.
- Chill: Refrigerate the pumpkin balls for about 30 minutes to firm up.
Coat the Pumpkins
- Crush the Graham Crackers: In a shallow dish, place the crushed graham crackers.
- Coat the Pumpkins: Once the pumpkin balls are firm, roll each one in the crushed graham crackers until fully coated.
- Add Color: If using, melt the orange candy melts in a microwave-safe bowl according to package instructions. Dip the tops of the pumpkins in the melted candy and then place them back on the baking sheet.
Decorate the Pumpkins
- Add Stems: Insert a piece of green gummy candy into the top of each pumpkin to create the stem.
- Face Optional: If desired, use chocolate chips or mini candies to create fun faces on your pumpkins.
- Prep Time: 30 min.
- Cook Time: 30 min.
Nutrition
- Serving Size: 12 pumpkins
- Calories: 150 kcal
- Fat: 8g
- Carbohydrates: 18g
- Fiber: 1g
- Protein: 2g
Conclusion
Your No-Bake Halloween Pumpkins are all set to steal the show! With their spooky-cute appearance and rich, creamy taste, these little treats are sure to be a hit at any Halloween celebration. They’re perfect for gatherings, school parties, or even a cozy night in with friends and family.
I hope you have as much fun making these as you do enjoying them! These treats are as easy to make as they are delightful to eat, making them a great activity for the whole family to enjoy. I’d love to hear how they turn out for you—maybe you added a unique twist, or they made a fantastic centerpiece on your dessert table!
Don’t forget to leave a comment below to share your experience. And, of course, snap a photo and tag me on Instagram or your favorite social media platform—I love seeing your festive and delicious creations! Happy Halloween snacking and hauntingly fun celebrations! 🎃

