


Introduction
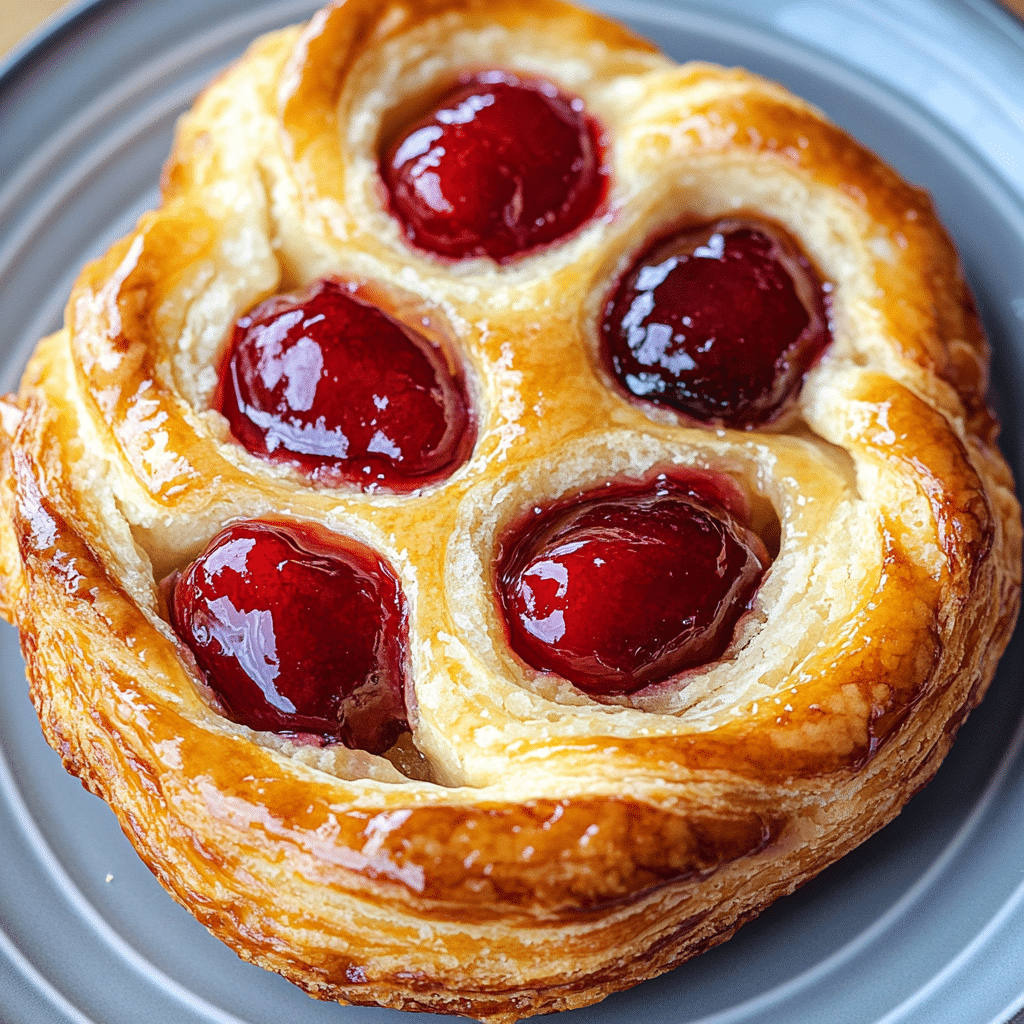
There’s nothing quite like the heavenly combination of flaky pastry, sweet cherry filling, and creamy cheese tucked inside a golden-brown Danish. Whether you’re looking for a special breakfast treat, a cozy afternoon snack, or an impressive dessert, this Cherry Cheese Danish has you covered. With a buttery, crisp exterior and a rich, velvety center, every bite is pure bliss. The best part? This bakery-quality pastry is surprisingly easy to make at home!
If you’ve ever been tempted by those beautiful Danishes in the bakery case, now’s your chance to create them yourself. Using simple ingredients and a few easy steps, you’ll have a tray of irresistible Danishes that look and taste like they came straight from a café. They’re perfect for weekend brunch, holiday mornings, or just because—because honestly, who needs an excuse to enjoy a warm, flaky pastry fresh from the oven?
One of the best things about this recipe is its versatility. You can use store-bought puff pastry for convenience or make your own if you’re feeling ambitious. The combination of sweet cherries and rich cream cheese creates a luscious filling, but you can easily switch it up with different fruit preserves, like raspberry or blueberry, for a new twist. And let’s not forget the finishing touch—a light drizzle of icing or a dusting of powdered sugar makes these pastries truly irresistible.
Whether you’re sharing them with loved ones or treating yourself to a little moment of indulgence, these Cherry Cheese Danishes are bound to bring joy with every bite. Give them a try, and don’t forget to snap a photo and tag me on social media—I love seeing your delicious creations!
Why You’ll Love This Recipe
There are so many reasons to fall in love with this Cherry Cheese Danish recipe:
- Bakery-Style Quality – Impress your friends and family with homemade pastries that taste just like they came from a professional bakery.
- Easy to Make – No need to be an expert baker! This recipe uses simple techniques that anyone can master.
- Flaky & Buttery Pastry – Each bite is light, crisp, and melts in your mouth.
- Rich & Creamy Filling – The sweet cream cheese pairs perfectly with the tart cherry filling.
- Perfect for Any Occasion – Enjoy them for breakfast, brunch, or dessert.
- Customizable – Swap out the cherry filling for your favorite fruit or even a chocolate filling.
- No Special Equipment Required – A baking sheet, a rolling pin, and a mixing bowl are all you need.
- Make-Ahead Friendly – You can prepare these in advance and bake them fresh when you’re ready.
- Crowd-Pleaser – Whether for guests, family, or a solo indulgence, these Danishes are guaranteed to impress.
- Freezer-Friendly – Make a big batch and freeze some for later!
Preparation Time and Cook Time
- Total Time: 40 minutes
- Preparation Time: 15 minutes
- Cook Time: 25 minutes
- Cooling Time: 10 minutes
- Servings: 8 Danishes
- Calories per Danish: Approximately 320 calories
- Key Nutrients: Protein: 5g, Fat: 18g, Carbohydrates: 35g
Ingredients
For the Danish Pastry:
- 1 sheet puff pastry, thawed
- 1 egg, beaten (for egg wash)
- 1 tablespoon water (for egg wash)
the Cream Cheese Filling:
- 4 oz cream cheese, softened
- 2 tablespoons granulated sugar
- 1/2 teaspoon vanilla extract
For the Cherry Topping:
- 1/2 cup cherry pie filling
the Glaze:
- 1/2 cup powdered sugar
- 1 tablespoon milk
- 1/4 teaspoon vanilla extract
Ingredient Highlights
- Puff Pastry – The key to a light, flaky Danish without hours of work.
- Cream Cheese – Adds a luscious, creamy texture.
- Cherry Pie Filling – A sweet and tangy contrast to the rich cheese.
- Powdered Sugar Glaze – A finishing touch that adds a hint of sweetness.
Step-by-Step Instructions


Prepare the Pastry
- Preheat Oven – Set your oven to 375°F (190°C) and line a baking sheet with parchment paper.
- Roll Out Pastry – Lightly flour your surface and roll out the puff pastry slightly to smooth out any creases.
- Cut into Squares – Using a sharp knife or a pizza cutter, slice the pastry into 8 equal squares.
Make the Filling
- Mix Cream Cheese – In a bowl, blend softened cream cheese, sugar, and vanilla extract until smooth.
Assemble the Danishes
- Add Filling – Place a spoonful of cream cheese mixture in the center of each pastry square.
- Add Cherries – Top the cream cheese with a spoonful of cherry pie filling.
- Shape the Danishes – Fold in the corners slightly or leave them open for a classic Danish look.
- Brush with Egg Wash – Mix the egg with a tablespoon of water and lightly brush over the pastry edges for a golden finish.
Bake
- Bake for 20-25 Minutes – Place in the preheated oven and bake until golden brown and puffed up.
- Cool – Allow to cool slightly before adding the glaze.
Drizzle with Glaze
- Prepare Glaze – Mix powdered sugar, milk, and vanilla until smooth.
- Drizzle – Using a spoon, drizzle the glaze over the warm Danishes.
How to Serve
Make your Cherry Cheese Danish even more special with these serving ideas:
- Dust with Powdered Sugar – A light sprinkle makes them look extra fancy.
- Pair with Coffee or Tea – Enjoy your Danish with a warm cup of coffee or tea for the perfect pairing.
- Serve Warm – These Danishes taste best fresh from the oven while still warm.
- Garnish with Fresh Cherries – A few fresh cherries on top add a gourmet touch.
- Create a Brunch Spread – Serve alongside fresh fruit, scrambled eggs, and bacon for a complete brunch.
Additional Tips
Take your Danishes to the next level with these handy tips:
- Don’t Overfill – Too much filling can cause the pastries to leak.
- Use Cold Puff Pastry – Chilled pastry bakes up the flakiest.
- Seal Edges Lightly – Pressing down the edges slightly prevents excessive spreading.
- Try Different Fillings – Swap cherries for blueberries, strawberries, or apple filling.
- Store Properly – Keep leftovers in an airtight container for up to 2 days.
- Reheat for Freshness – Warm in the oven for a few minutes to refresh the texture.
- Make Mini Danishes – Cut smaller squares for bite-sized treats.
- Brush with Butter – A light brush of melted butter before serving enhances flavor.
- Use a Pastry Cutter – For perfectly even squares, a pastry cutter works wonders.
- Add a Streusel Topping – Sprinkle a bit of brown sugar and butter streusel on top before baking for extra crunch.
Recipe Variations
- Chocolate Danish – Swap the cherry filling for chocolate chips.
- Lemon Cheese Danish – Use lemon curd instead of cherry filling.
- Nutty Danish – Sprinkle chopped almonds or pecans over the top before baking.
- Savory Danish – Skip the sugar and add ham and cheese for a savory version.
- Gluten-Free Danish – Use gluten-free puff pastry for a gluten-free alternative.
Freezing and Storage
If you want to enjoy Cherry Cheese Danish beyond the day you bake them, proper storage and freezing methods will help maintain their freshness and texture. Here’s how to do it:
- Storing at Room Temperature
- Once cooled, store the danishes in an airtight container at room temperature for up to 2 days.
- If your kitchen is warm, it’s best to refrigerate them to prevent the cream cheese filling from spoiling.
- Refrigerating
- Store in an airtight container in the refrigerator for up to 4 days.
- Reheat in a 350°F (175°C) oven for 5-7 minutes to restore crispness. Avoid microwaving, as it can make them soggy.
- Freezing Before Baking
- If you want freshly baked danishes on demand, freeze them before baking:
- Assemble the danishes without the egg wash and place them on a parchment-lined baking sheet.
- Freeze for about 1 hour, or until firm.
- Transfer them to a freezer-safe bag or airtight container and store for up to 2 months.
- When ready to bake, brush with egg wash, add 5 extra minutes to the baking time, and bake straight from frozen at 375°F (190°C).
FAQ Section
Got questions about making Cherry Cheese Danish? Here are some common ones to help you perfect this delicious treat!
- Can I use homemade pastry instead of store-bought puff pastry?
Absolutely! If you have time, homemade puff pastry works great, but store-bought is a convenient shortcut. - How do I keep my danishes from getting soggy?
Make sure your filling isn’t too watery, and don’t overfill them. Baking them until golden brown helps maintain crispness. - Can I make these ahead of time?
Yes! You can assemble them and store them in the fridge overnight. Just bake them fresh in the morning. - What if I don’t have cherry pie filling?
You can use fresh cherries cooked with a bit of sugar and cornstarch or substitute with another fruit filling. - How do I reheat leftovers?
Warm them in a 300°F oven for about 5 minutes to bring back their crispness. Avoid microwaving, as it can make them soggy. - Can I make a bigger batch?
Yes! Just double the ingredients and bake in batches as needed.

Cherry Cheese Danish
- Total Time: 40 min.
Ingredients
For the Danish Pastry:
- 1 sheet puff pastry, thawed
- 1 egg, beaten (for egg wash)
- 1 tablespoon water (for egg wash)
For the Cream Cheese Filling:
- 4 oz cream cheese, softened
- 2 tablespoons granulated sugar
- 1/2 teaspoon vanilla extract
For the Cherry Topping:
- 1/2 cup cherry pie filling
For the Glaze:
- 1/2 cup powdered sugar
- 1 tablespoon milk
- 1/4 teaspoon vanilla extract
Instructions
Prepare the Pastry
- Preheat Oven – Set your oven to 375°F (190°C) and line a baking sheet with parchment paper.
- Roll Out Pastry – Lightly flour your surface and roll out the puff pastry slightly to smooth out any creases.
- Cut into Squares – Using a sharp knife or a pizza cutter, slice the pastry into 8 equal squares.
Make the Filling
- Mix Cream Cheese – In a bowl, blend softened cream cheese, sugar, and vanilla extract until smooth.
Assemble the Danishes
- Add Filling – Place a spoonful of cream cheese mixture in the center of each pastry square.
- Add Cherries – Top the cream cheese with a spoonful of cherry pie filling.
- Shape the Danishes – Fold in the corners slightly or leave them open for a classic Danish look.
- Brush with Egg Wash – Mix the egg with a tablespoon of water and lightly brush over the pastry edges for a golden finish.
Bake
- Bake for 20-25 Minutes – Place in the preheated oven and bake until golden brown and puffed up.
- Cool – Allow to cool slightly before adding the glaze.
Drizzle with Glaze
- Prepare Glaze – Mix powdered sugar, milk, and vanilla until smooth.
- Drizzle – Using a spoon, drizzle the glaze over the warm Danishes.
- Prep Time: 15 min.
- Cooling Time: 10 min.
- Cook Time: 25 min.
Nutrition
- Serving Size: 8 Danishes
- Calories: 320 kcal
- Fat: 18g
- Carbohydrates: 35g
- Protein: 5g
Conclusion
Puff Pastry Hearts are a delightful way to share a little love through baking! With their golden, flaky layers and endless filling possibilities—whether sweet jam, rich chocolate, or a dusting of cinnamon sugar—these pastries are as fun to make as they are to eat. Perfect for Valentine’s Day, anniversaries, or simply as a special treat, they add an elegant touch to any occasion.
The best part? They’re incredibly easy to make with store-bought puff pastry, so you can enjoy bakery-quality results with minimal effort. Just a few simple steps, a quick bake, and you’ll have a batch of warm, buttery hearts ready to enjoy.
So go ahead—treat yourself and your loved ones to these irresistible pastries! And don’t forget to snap a photo and tag me on social media—I love seeing your delicious creations!


