Introduction
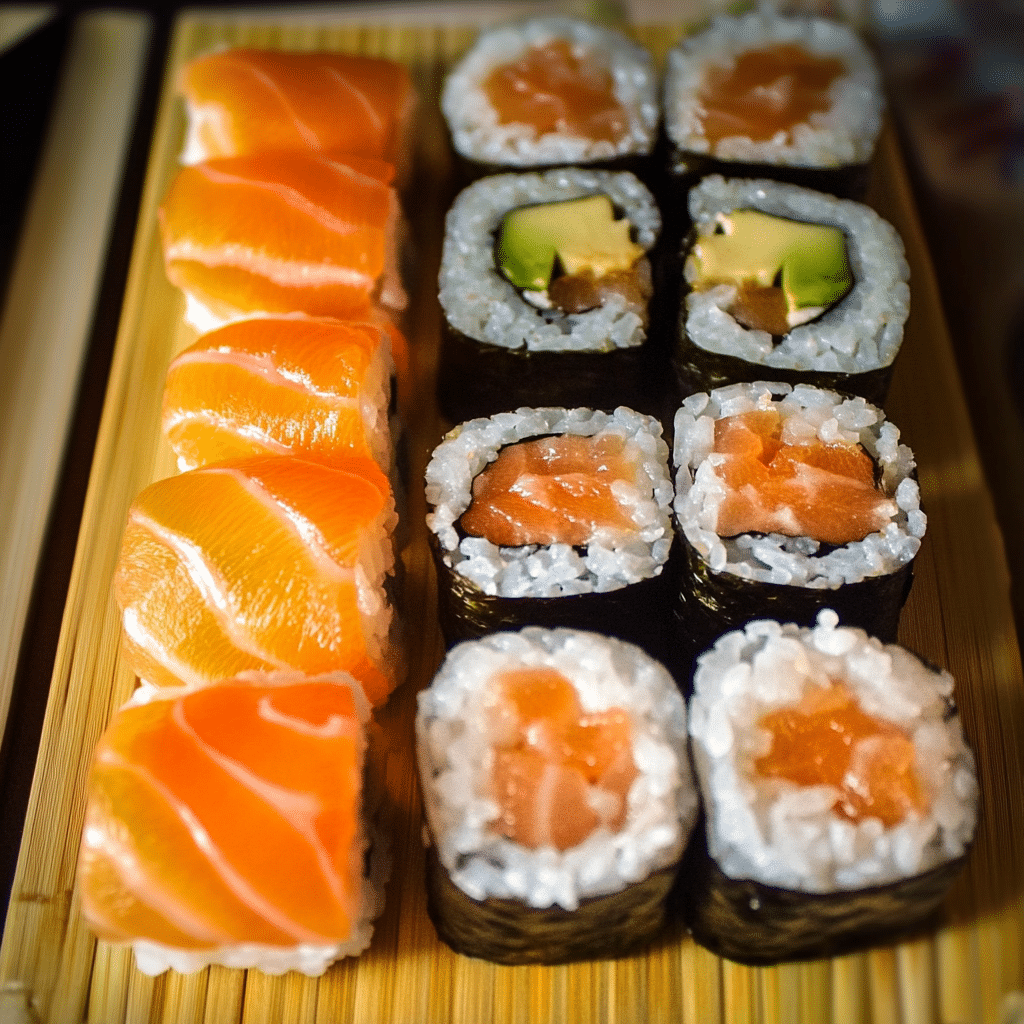
A homemade Sushi Platter isn’t just a meal—it’s an experience. There’s something so satisfying about carefully assembling each roll, arranging vibrant slices of sashimi, and adding the finishing touches that make your platter look restaurant-worthy. Whether you’re crafting delicate nigiri, rolling up spicy tuna, or simply slicing fresh sashimi, every element comes together to create a feast for both the eyes and the taste buds.
One of the best parts of making sushi at home is the freedom to customize it just the way you like. Love extra avocado? Go for it. Prefer a little less rice? No problem. And let’s not forget the fun of garnishing—sprinkles of sesame seeds, drizzles of spicy mayo, or a delicate curl of pickled ginger can take your platter to the next level.
So, whether you’re preparing for a special occasion or just indulging in a creative kitchen adventure, a sushi platter is always a showstopper. If you try making your own, don’t forget to snap a photo and tag me on social media—I’d love to see your sushi masterpiece!
Why You’ll Love This Sushi Platter
There are so many reasons to love making a sushi platter at home:
- Restaurant-Quality at Home – Enjoy fresh, delicious sushi without the restaurant price tag.
- Completely Customizable – Choose your favorite sushi fillings, fish, and flavors to create a platter that suits your tastes.
- Fun and Interactive – Making sushi is an exciting experience, whether you’re rolling solo or with friends and family.
- Healthier Option – Sushi can be a nutritious meal, packed with protein, healthy fats, and fresh vegetables.
- Visually Stunning – A well-arranged sushi platter is as much a feast for the eyes as it is for the taste buds.
- Perfect for Any Occasion – Whether it’s a casual dinner or a special celebration, sushi makes any meal feel like an event.
- Great for Sharing – A sushi platter is designed for multiple people to enjoy, making it a great choice for gatherings.
- No Special Equipment Needed – While a bamboo mat helps with rolling, you don’t need fancy tools to make sushi at home.
- Fun to Experiment With – Try different fish, sauces, and toppings to make your sushi experience unique.
- Impress Your Guests – Serving a homemade sushi platter is guaranteed to wow your family and friends!
Preparation Time and Cook Time
- Total Time: 1 hour 15 minutes
- Preparation Time: 50 minutes
- Cook Time: 25 minutes
- Servings: 4-6 people
- Calories per serving: Approximately 350 calories
- Key Nutrients: Protein: 15g, Fat: 6g, Carbohydrates: 55g, Fiber: 3g
Ingredients
Gather these essential ingredients to create your Sushi Platter:
For the Sushi Rice:
- 2 cups sushi rice
- 2 ½ cups water
- ¼ cup rice vinegar
- 2 tbsp sugar
- 1 tsp salt
For the Rolls (Maki & Uramaki):
- 6 sheets nori (seaweed)
- ½ lb sushi-grade salmon, thinly sliced
- ½ lb sushi-grade tuna, thinly sliced
- 1 avocado, sliced
- 1 cucumber, julienned
- ½ cup imitation crab meat
- 2 tbsp mayonnaise (for spicy crab)
- 1 tbsp sriracha (optional, for spicy rolls)
- ½ cup cream cheese (for Philadelphia rolls)
the Nigiri & Sashimi:
- ½ lb sushi-grade salmon
- ½ lb sushi-grade tuna
- ½ lb yellowtail
- Wasabi for assembling
For Garnishes & Dipping:
- Soy sauce
- Pickled ginger
- Wasabi
- Sesame seeds
- Green onions, finely chopped
Ingredient Highlights
- Sushi-Grade Fish – Ensure you’re using high-quality, fresh fish from a trusted source.
- Sushi Rice – The heart of sushi, properly seasoned and sticky enough to hold its shape.
- Nori (Seaweed) – Adds a rich umami flavor and helps hold the rolls together.
- Fresh Vegetables – Avocado and cucumber provide freshness and crunch.
- Classic Condiments – Soy sauce, wasabi, and ginger complete the sushi experience.
Step-by-Step Instructions


Prepare the Sushi Rice
- Rinse the Rice: Rinse the sushi rice under cold water until the water runs clear. This removes excess starch and prevents it from becoming too sticky.
- Cook the Rice: Combine the rinsed rice with water in a rice cooker and cook according to the manufacturer’s instructions.
- Make the Seasoning: In a small saucepan, heat the rice vinegar, sugar, and salt until dissolved. Do not boil.
- Season the Rice: Once the rice is cooked, transfer it to a large bowl and gently fold in the vinegar mixture. Let it cool to room temperature before using.
Make the Sushi Rolls (Maki & Uramaki)
- Prepare the Rolling Mat: Place a bamboo rolling mat on a clean surface and cover it with plastic wrap.
- Lay Out the Nori: Place a sheet of nori, shiny side down, on the mat.
- Spread the Rice: Wet your fingers and spread an even layer of rice over the nori, leaving a ½-inch border at the top.
- Add Fillings: Arrange fish, avocado, and cucumber along the bottom edge of the rice.
- Roll It Up: Using the bamboo mat, roll the sushi tightly, applying gentle pressure.
- Slice & Serve: Use a sharp knife to slice the roll into even pieces. Wipe the knife with a damp towel between cuts.
Prepare Nigiri & Sashimi
- Slice the Fish: Using a very sharp knife, cut the sushi-grade fish into thin, bite-sized pieces.
- Shape the Rice: Wet your hands and form small oval-shaped rice balls.
- Assemble Nigiri: Place a small dab of wasabi on top of each rice ball and gently press a slice of fish over it.
- Arrange Sashimi: Place sliced fish on a serving platter with garnishes.
How to Serve Your Sushi Platter
Here are some creative ways to present your sushi platter:
- Arrange by Type – Group nigiri, sashimi, and rolls in separate sections for an organized look.
- Use a Wooden Board – A traditional wooden serving board enhances the visual appeal.
- Garnish with Style – Add fresh herbs, sesame seeds, or edible flowers for a decorative touch.
- Serve with Dipping Sauces – Offer soy sauce, spicy mayo, and ponzu for variety.
- Include Chopsticks and Small Plates – Encourage guests to enjoy sushi the authentic way.
- Create a Sushi Tower – Stack sushi rolls in layers for an impressive presentation.
Additional Tips
Make your sushi experience even better with these expert tips:
- Use a Very Sharp Knife – A clean cut ensures beautifully shaped sushi pieces.
- Keep Hands Wet – Prevent rice from sticking by keeping your fingers damp.
- Roll Tight, But Not Too Tight – Apply gentle pressure when rolling to keep sushi intact.
- Experiment with Fillings – Try mango, spicy tuna, or tempura shrimp for variety.
- Serve Immediately – Sushi is best enjoyed fresh!
freezing and storage
Sushi is best enjoyed fresh, but if you have leftovers, here’s how to store them properly:
Short-Term Storage (Refrigeration)
- Best for next-day consumption – Store sushi in an airtight container in the refrigerator for up to 24 hours.
- Prevent dryness – Place a damp paper towel over the sushi before sealing the container to keep the rice from drying out.
- Keep fish fresh – If the sushi contains raw fish, consume it within a day to maintain its best quality and safety.
Freezing Sushi Rolls
While freezing sushi is not recommended, some types of sushi can handle freezing better than others:
- Cooked sushi rolls (like tempura shrimp or crab rolls) can be frozen for up to 2 weeks if wrapped tightly in plastic wrap and stored in a freezer-safe bag.
- Avoid freezing raw fish sushi – Freezing can affect texture, making the fish mushy and unappetizing when thawed.
- Vegetarian sushi rolls freeze better than those with fish, as they don’t suffer from texture changes.
How to Thaw Frozen Sushi
- Thaw overnight in the fridge – Never thaw sushi at room temperature to prevent bacterial growth.
- Reheat cooked sushi – If your sushi includes tempura or cooked fillings, you can warm it slightly in the microwave for 10-15 seconds.
- Refresh the rice – If the rice is dry, lightly mist it with water and cover it with a damp paper towel before reheating.
Storage Tips for Individual Ingredients
If you want to prep sushi ingredients in advance:
- Sushi Rice – Store cooked rice in an airtight container in the fridge for up to 2 days. Add a splash of water and reheat gently before use.
- Raw Fish – Keep sushi-grade fish tightly wrapped and on ice in the fridge. Use within 24 hours for best freshness.
- Nori (Seaweed Sheets) – Store in a cool, dry place to prevent moisture from making it chewy.
faq section
Here are some common questions about making a sushi platter at home:
- Can I make sushi ahead of time?
- Yes, but it’s best enjoyed fresh. If needed, store sushi rolls in an airtight container for up to 24 hours.
- What kind of fish should I use?
- Only use sushi-grade fish from a trusted source. Tuna, salmon, and yellowtail are great options.
- Do I need a bamboo mat to roll sushi?
- While helpful, you can use parchment paper or a clean kitchen towel if you don’t have a sushi mat.
- How can I prevent sushi rice from sticking to my hands?
- Keep your hands slightly wet with water or vinegar while handling the rice.
- Can I make sushi without raw fish?
- Absolutely! Try cooked shrimp, smoked salmon, or vegetarian fillings like avocado and cucumber.

Sushi Platter
- Total Time: 60 minutes
Ingredients
For the Sushi Rice:
- 2 cups sushi rice
- 2 1/2 cups water
- 1/3 cup rice vinegar
- 2 tbsp sugar
- 1 tsp salt
For the Rolls (Choose Your Favorites):
- 4 sheets nori (seaweed)
- 1/2 lb sushi-grade salmon, thinly sliced
- 1/2 lb sushi-grade tuna, thinly sliced
- 1/2 cucumber, julienned
- 1 avocado, sliced
- 1/2 cup imitation crab (or real crab meat)
- 1/4 cup cream cheese (optional)
- 1/2 cup spicy mayo (for drizzling)
- 1 tbsp sesame seeds
- 1 tbsp tobiko (fish roe)
For the Accompaniments:
- Soy sauce, for dipping
- Pickled ginger
- Wasabi
- Edamame (optional side dish)
Instructions
. Prepare the Sushi Rice
- Rinse the Rice – Rinse sushi rice under cold water until the water runs clear.
- Cook the Rice – In a rice cooker or on the stovetop, cook the rice with water.
- Season the Rice – While the rice is still warm, mix in rice vinegar, sugar, and salt. Stir gently and let cool.
2. Assemble the Sushi Rolls
- Lay Out the Nori – Place a sheet of nori on a bamboo sushi mat, shiny side down.
- Spread the Rice – Using wet hands, spread a thin layer of sushi rice over the nori.
- Add Fillings – Arrange your chosen ingredients in a horizontal line near the bottom third of the rice-covered nori.
- Roll It Up – Using the sushi mat, roll the nori tightly over the fillings, applying gentle pressure.
- Seal the Roll – Dab a bit of water on the edge of the nori to seal the roll.
- Slice the Rolls – Using a sharp knife, cut each roll into 6-8 pieces.
3. Arrange the Platter
- Slice the Sashimi – If including sashimi, slice fish into thin, even pieces.
- Plate the Sushi – Arrange sushi rolls, sashimi, and nigiri neatly on a platter.
- Add Accompaniments – Place pickled ginger, wasabi, and soy sauce on the side.
- Garnish & Serve – Sprinkle with sesame seeds and tobiko for an elegant touch.
- Prep Time: 45 minutes
- Cook Time: 15 min.
Nutrition
- Serving Size: 4-6 people
Conclusion
A homemade Sushi Platter is a feast for both the eyes and the taste buds! There’s something so special about rolling your own sushi, whether it’s classic maki, delicate nigiri, or beautifully arranged sashimi. The best part? You get to customize every bite—choose your favorite fillings, experiment with sauces, and add as much wasabi as your heart desires!
Making sushi at home is easier than you think, and it’s a fun activity to share with family and friends. From prepping the perfect sushi rice to slicing fresh ingredients, every step adds to the experience. Plus, it’s a great way to impress guests or enjoy a hands-on dinner night.
So, grab your sushi mat, get creative, and enjoy the process! Whether you keep it simple or go all out with artistic plating, your homemade sushi will be a delicious success. And don’t forget to snap a photo and tag me on social media—I love seeing your delicious creations!